
The default home environment on Meta Quest headsets can start to feel a bit bland over time.
Sometimes, you want a space that shows off your style—your colors, your favorite images, your logo… whatever makes you feel at home. Other times, you might want to restrict certain apps and settings or create a designated area for work or relaxation.
That’s what this article is all about.
In this ArborXR guide, we’ll show you three simple ways to create a custom home environment on Quest headsets, turning your virtual space into something truly yours.
What Is a Custom Home Environment?
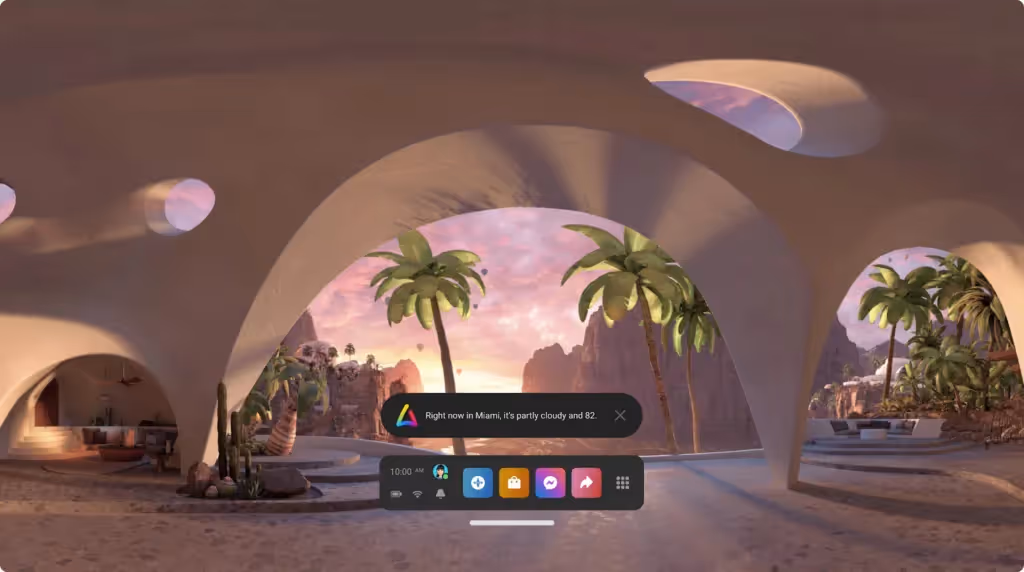
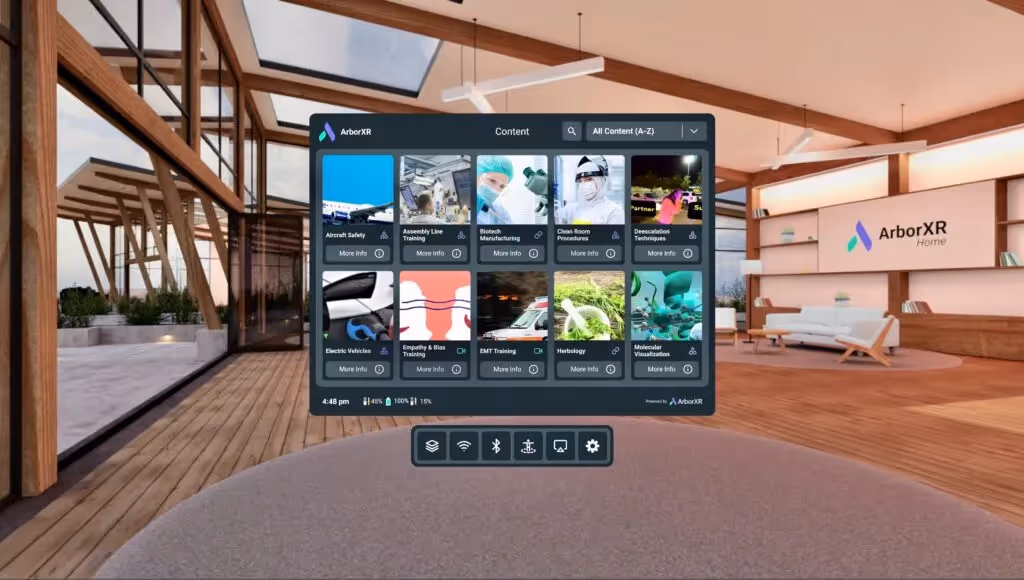
A VR home environment is your starting point or "home base" in VR. It’s the first area you see when you put on your headset and turn it on. You can access your apps, settings, and other VR experiences from your home environment.
By default, Meta’s launcher provides a few pre-designed home environments.
However, creating a custom home environment allows you to tailor different elements to your specific preferences and needs. Depending on the method you use, you can change the background, menu options, colors, logos—and even create single- or multi-app kiosk experiences.

The level of personalization you can achieve largely depends on the tool you use. For example, a tool like SideQuest or Quest for Business will do the job if you want to change the background. If you’re looking for deeper customization (e.g., controlling app access, shortcuts, settings, etc.), you'll need a tool that offers a fully customizable launcher to replace the default Meta launcher.
How to Create a Custom Home Environment on Quest
1. Using Meta’s Native Solutions
Meta offers two ways to customize your headset’s home environment:
- Change the background (Skybox view) directly from your headset
- Add a brand logo with Quest for Business (only available in shared mode)
Changing Your Background
- Download your preferred skybox image: Go to the App Library and open the browser. Use it to find your preferred 360° .JPG or .PNG image for your background. Hover over the image, press B or Y on your controller, and save it to your Quest device.
- Customize your background: Go to Settings, select Personalization, and scroll down to Virtual Environment. Choose "Custom Skybox View" and select the image you saved to use as your background.
Adding Your Organizational Logo
- Go to the Quest for Business Admin Centre: If you’re adding a logo to one device, select the device name. For multiple devices, choose the device profile name.
- Upload your logo: In the Device Experience tab, select “Custom Logo.” Upload your logo either by dragging and dropping or selecting it from your device. Preview it and click save.
Your logo will now appear in various locations within the VR experience, like at the bottom of the App Library. However, it won’t show up on devices locked in kiosk mode.
2. Using ManageXR Home Screen
- Choose Device if you want to change the home environment on a single Quest device, or select Configurations if you’re applying changes to a group.
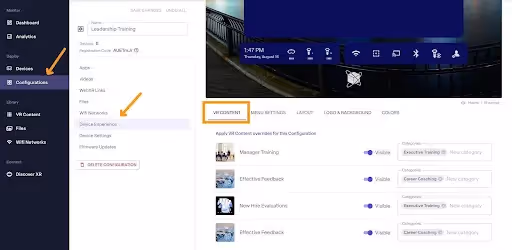
2. Next, click on Device Experience, then select ManageXR Home Screen.
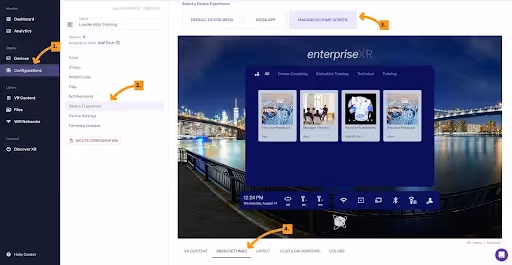
3. From here, you can customize various elements of the Home Screen, such as the displayed content, layout, background, logo, colors, and menu settings.
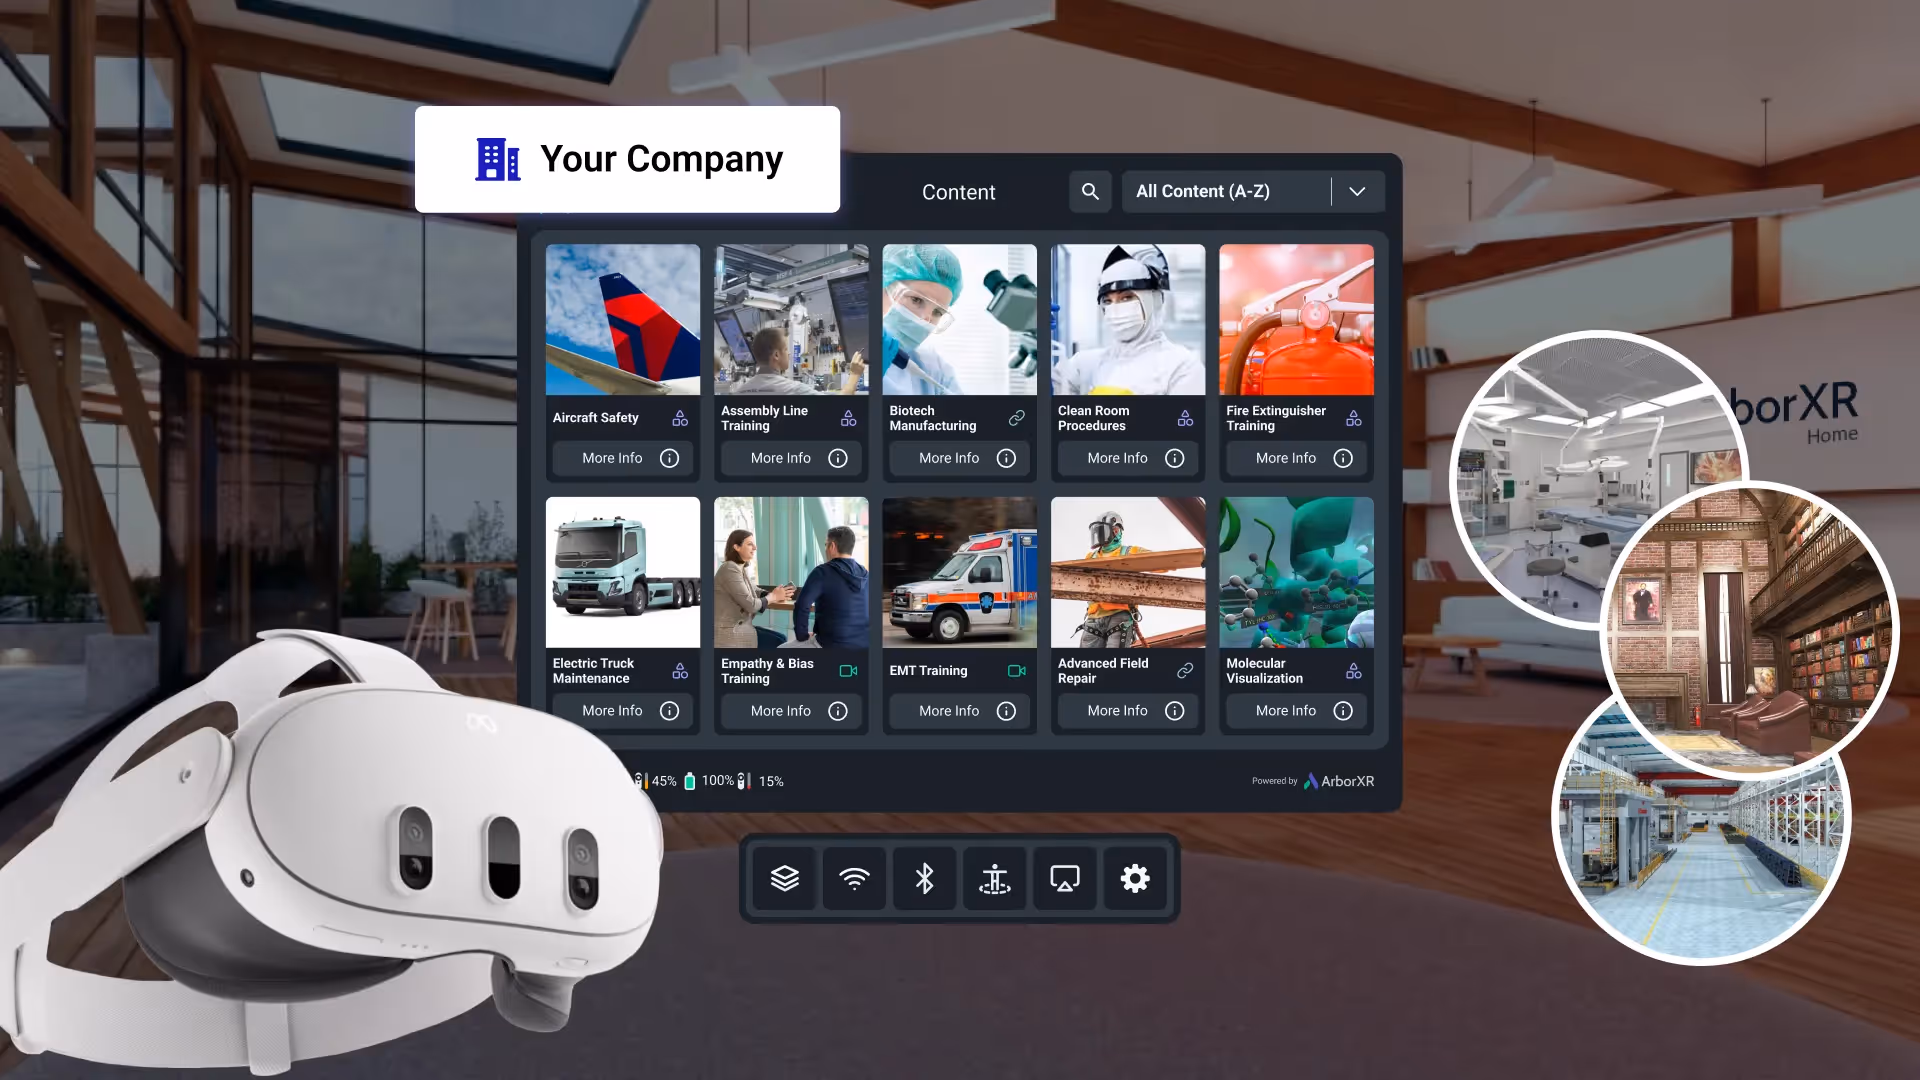
3. Using ArborXR Home
ArborXR gives you a lot more freedom when it comes to customizing your home environment.
In a nutshell, you can change your background and also choose:
- Which apps appear on the Home Screen, creating a multi-app kiosk experience
- What settings and shortcuts users can access

- Customize the UI colors, logo, and language options.
We’ve covered all these details in our Arbor Home Configuration guide, but here, we’ll quickly walk you through how to change your background.
How to Change Your Background With ArborXR
ArborXR gives you a lot of flexibility when it comes to changing your background—you can either use a 360° image or a fully immersive 3D environment.
Custom 360° Image:
1. Log in to your ArborXR account.
2. Select the device (or group of devices) where you want to make the change by choosing the “Devices” or “Group” tabs.
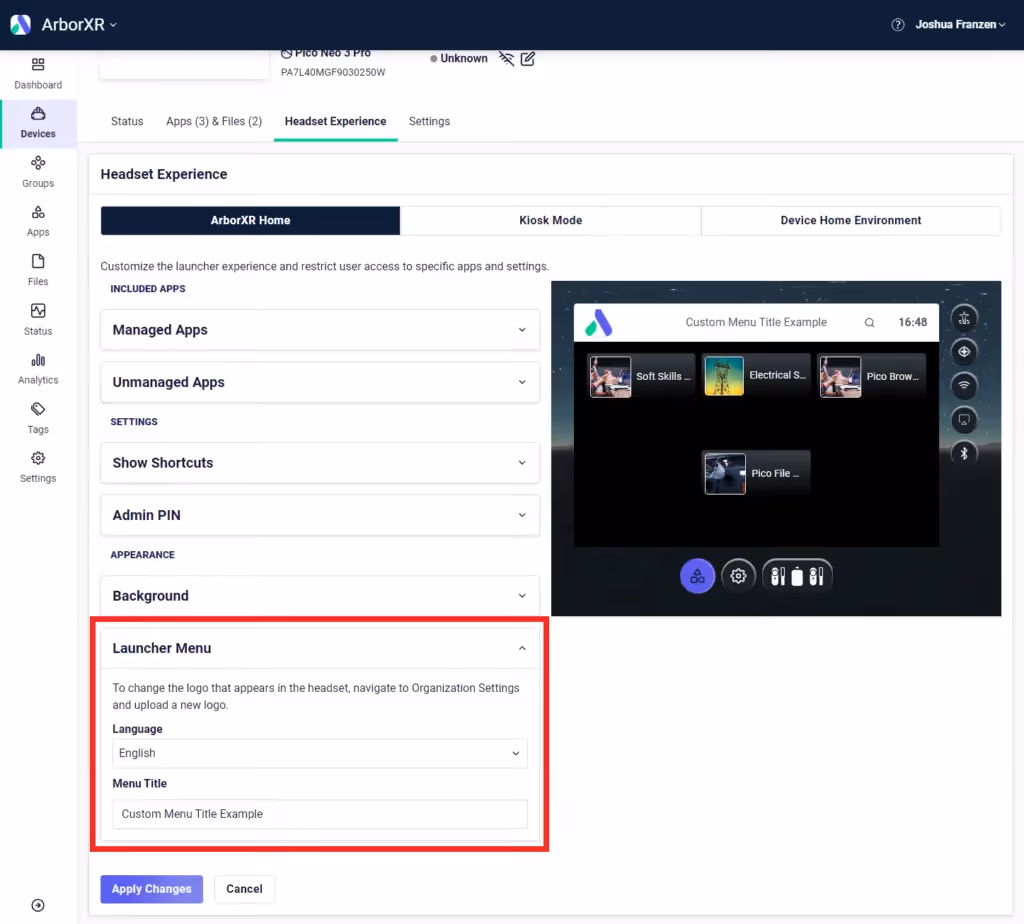
3. Go to the "Headset Experience" and select ArborXR Home.

4. Click on "Background."
5. Select "Custom 360° Image."
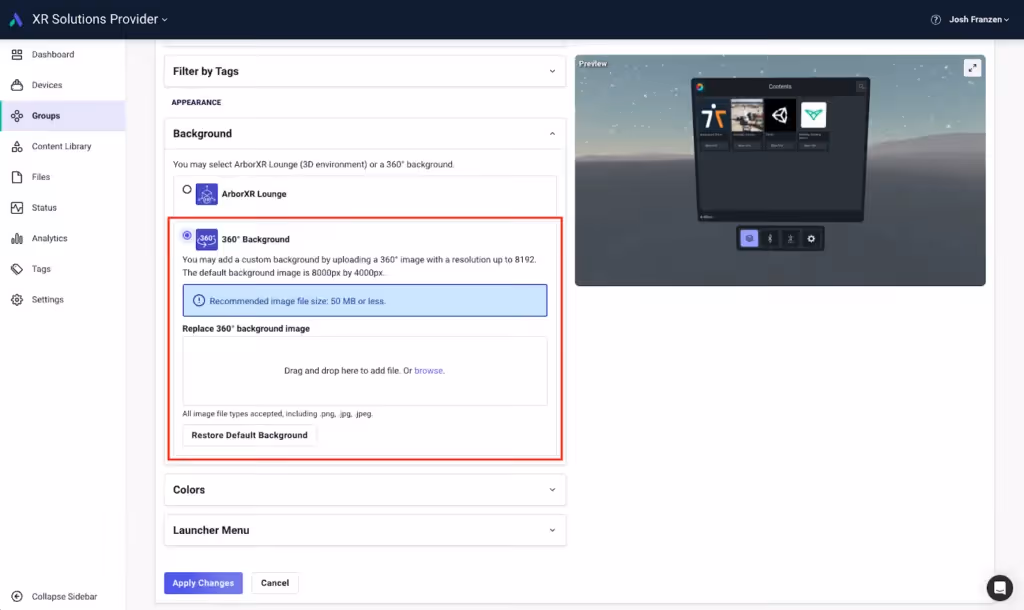
6. Upload your preferred 360° image and click “Apply Changes.”
Custom 3D Environment:
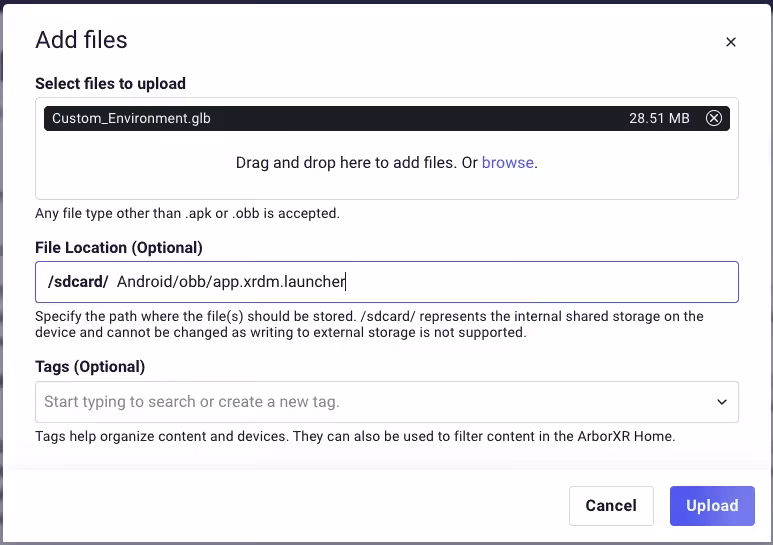
1. Go to the “Files” page and upload your 3D environment (.gltf or .glb file). Set the file location to Android/obb/app.xrdm.launcher. If you need help, check out our guide here.
2. In the step where you earlier picked “Custom 360° Image,” choose "ArborXR Lounge" instead.
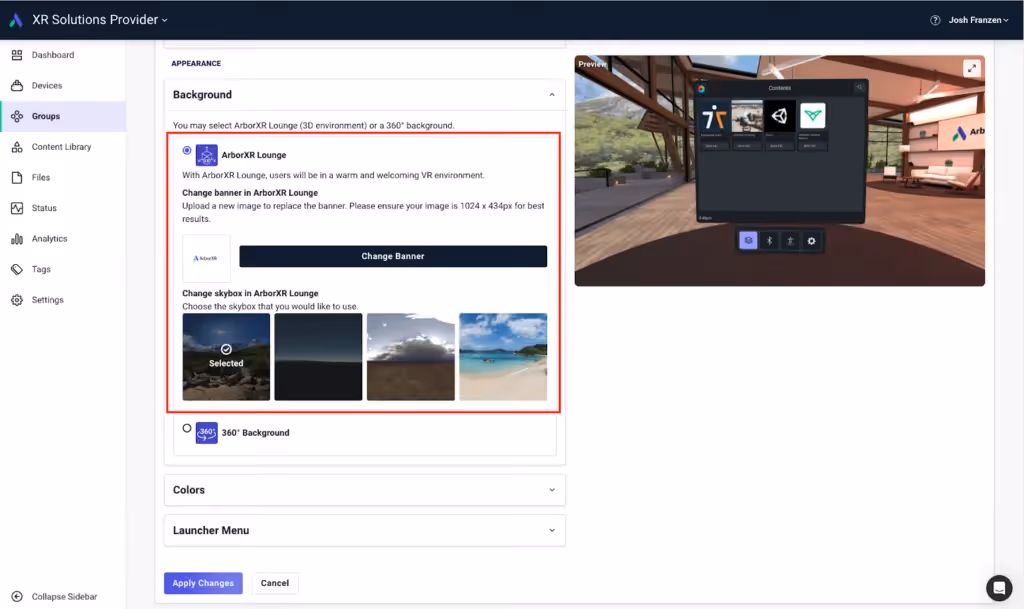
3. Add the uploaded 3D file to the device or group. Go to the Files page, select the file name, click "Edit," and then add it to your group. You can see more details in this guide.
Once the file is added, it automatically replaces the default home environment in the ArborXR Lounge.
Why Use ArborXR To Create a Custom Home Environment on Quest?
So far, it’s clear that ArborXR gives you the most flexibility and immersive options for customizing your home environment.
Let’s start with our top-notch UI/UX. ArborXR is designed with a focus on an outstanding user experience. The interface is intuitive, so you can set up your home environments yourself, even if you’ve never used an MDM before.
But there’s more.
We offer greater customization than just changing logos and backgrounds. For example, ArborXR lets you add shortcuts to WebXR links, videos, and other resources directly within your custom home environment. While ManageXR also supports this, Quest for Business does not.

However, what really sets ArborXR apart is the ability to create custom 3D environments. Neither ManageXR nor Quest for Business offers this feature. Custom 3D environments add a whole new level of immersion (plus, they help reduce VR motion sickness).
Personalize Your Quest Experiences With ArborXR
Creating a custom home environment lets you adjust various elements of your VR setup to match your preferences or maintain your brand. In this article, we’ve highlighted three great tools to help you with this.
Of the three methods, ArborXR offers the most flexibility and ease for customizing your environments. This is just a snapshot of what we provide. ArborXR is a comprehensive MDM solution that helps you deploy and manage headsets at scale, install apps and updates remotely, and create both single and multi-app kiosk experiences.
Want to try ArborXR yourself? Sign up for a 30-day free trial today.