
The COVID-19 pandemic is going to be one of those unbelievable stories written about in history books for future generations — the tale of how billions of people’s lives and behaviors changed abruptly… all at the same time.
This pandemic has not only affected people’s personal lives but how businesses function as well.
Millions of companies had to employ new ways to train, connect with, and retain their growing remote workforce. Extended Reality (XR) emerged as a creative and effective way of helping organizations meet these needs in an affordable manner. The results of using XR in enterprise settings were so powerful, that they are becoming necessary for how companies do business.
If your company has embraced XR technology, you’ve likely discovered there are unique steps to getting headsets set up. Often we are asked, what is developer mode? How do I enable developer mode on VR? Or more specifically, how do I put Meta Quest 3 in developer mode? One of the most essential functions you’ll need to understand is how to enable developer mode on your VR headset.
In this post, we’ll cover what developer mode is and how to enable it on different VR devices.
Before we get there though, we first need to understand why enabling developer mode is so important. What does it mean for you?
Among other things, it gives you one of the most important functions — the ability to sideload.
What is Sideloading?
Sideloading is the process of installing VR applications from a computer to a headset without using an app store or the internet.
The easiest way to understand this term is to first think of how downloading and uploading work.
Most of us get files, apps, and other software onto our devices (e.g., phone or computer) by downloading them from the internet, usually through an app store or the device’s manufacturer. Uploading works the other way around — this is the process of transferring files from our devices to a remote location (i.e., the internet).
While sideloading involves transferring files between devices, the main difference is that no internet is involved in the process. This means that you would typically need to use alternatives such as a Bluetooth connection, USB cable, or a physical memory card to help transfer the data between devices.
Sideloading isn’t common because most of the files or apps people need are usually found on the device’s app store. However, there are cases where you’ll need to access unique files that aren’t in an app store. For this reason, a lot of users may consider using an app like Sidequest to help with the sideloading process.
A great example of this is if you have employee VR training. Each company has its own day-to-day challenges that employees need to face and VR training helps put them in these situations without the real-life consequences.
This means the VR application needs to be specifically designed for a company, and you can’t just download it from any app store. This is where ArborXR comes in handy, because you can distribute VR apps remotely. You just need to sideload ArborXR’s client app first.
Is Sideloading Safe?
Earlier, we highlighted how downloading and uploading work. We all know, it’s essential to ensure that you download files from trusted apps or services. The same applies to sideloading.
For most organizations, the most common practice with VR is to use custom-built business apps, because you can tailor applications for a business’s unique needs.
The process is perfectly safe when you go this route, as the company can ensure that the app has no malicious content, and all files sideloaded will be safe.
In order to sideload VR apps, you must have USB debugging enabled, which is a setting usually hidden behind developer mode.
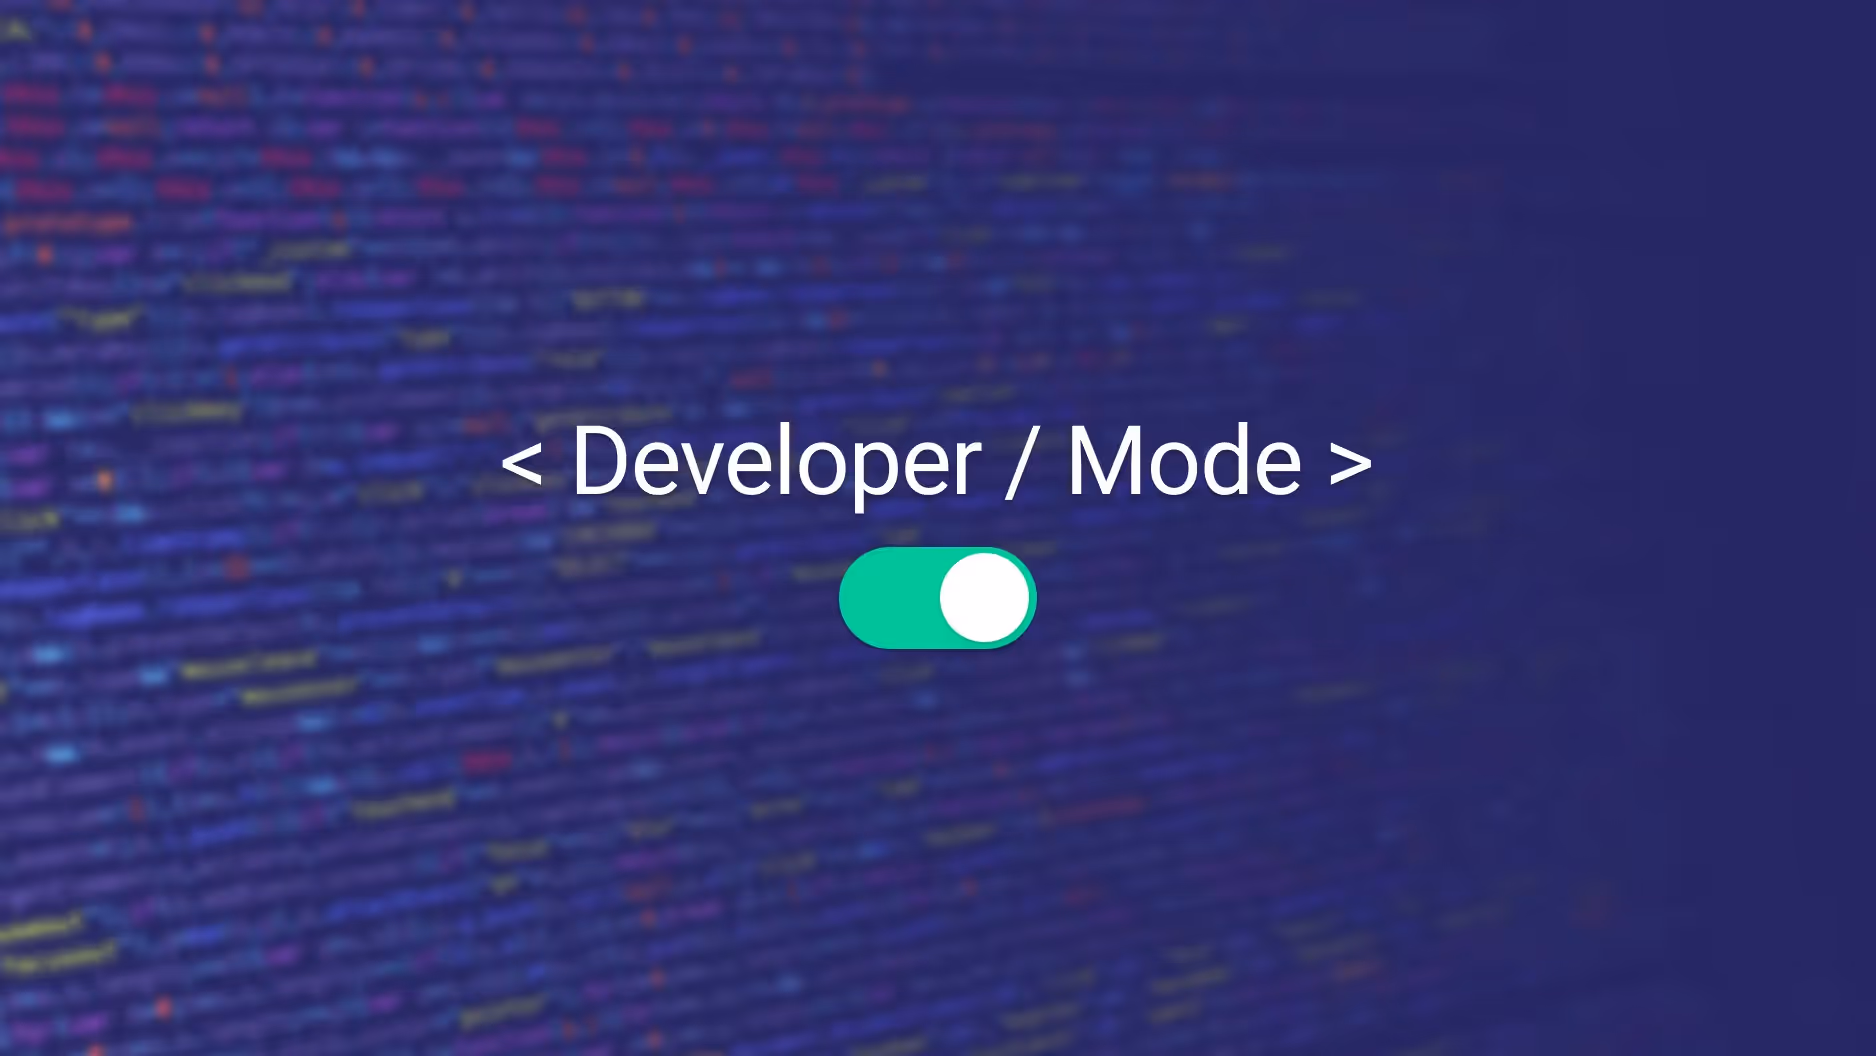
What is Developer Mode?
Developer mode enables advanced settings on VR headsets. For example, most headsets require you to have developer mode on to enable USB debugging, and you can only sideload apps and other important software when a device has USB debugging enabled. We’ve discussed the value of sideloading, especially to an organization. However, none of it would be possible without enabling USB debugging, which is an advanced setting found in developer mode.
In a nutshell, enabling developer mode on your VR headsets allows you to access more functionalities, including the ability to sideload.
What is USB Debugging?
USB debugging allows you to access a VR headset via computer to read all data, run adb commands, and install or remove apps.
It’s important to note that some hardware manufacturers, like PICO and HTC, offer to ship devices with USB debugging enabled, so that you do not manually have to turn it on. When you enable developer mode on Oculus Quest, USB debugging by default.
However, if your device does not ship with USB debugging enabled, you may have to turn on developer mode first and then turn on USB debugging in a separate menu.
The process of enabling developer mode and USB debugging usually involves a few steps and may differ from one device to another. Here’s a closer look at that process for some of the most popular devices on the market.
What is the Difference Between Oculus Quest and Meta Quest?
Many organizations use Quest devices for deployment and must place those devices in developer mode to install enterprise content or device management software, so it’s worth understanding some recent changes in with Oculus and Meta.
- Meta is now the parent company over Instagram and Facebook. Meta purchased Oculus in 2014.
- Meta recently rebranded everything formerly “Oculus” to “Meta.” Oculus Quest, Oculus apps, Oculus Store, or Oculus accounts are now referred to as Meta Quest, Meta apps, Meta Store and Meta accounts.
- For example, Meta Quest 2 and Oculus Quest 2 are the same piece of hardware with different names.
It’s also important to mention that as of April 24th 2024, Oculus for Business is no longer operational. As such, we’ve updated this article to reflect the changes and provide resources for users that are looking for up-to-date information.
How to Enable Developer Mode on Different VR Devices

How to Enable Developer Mode on Meta Quest Using the Mobile Companion App
Important note: Before you pair your Meta Quest to your device, make sure to log in to your Meta Account and create a Meta Quest developer account. Complete these steps:
- Create a New Organization
- Type an Organization Name into the provided text field
- Click Submit
- Review and Accept TermsPlacing Meta Quest in Developer Mode
- Turn on your Quest and complete the Meta set up process
- This includes pairing controllers, setting language, boundary guardian, WiFi, tutorial video, and more.
- Download and install the mobile companion app “Meta Quest”
- Log in with your Meta account
- Open Meta Quest companion app
- Select Menu (located on the bottom-right corner)
- Select Devices, then select your Quest device and wait until you see a green dot next to “Connected”
- If it does not work, make sure Bluetooth is turned on and your headset and phone are close together.
- Select Headset Settings
- Select Developer Mode
- Toggle on Debug Mode
- Plug your headset into a computer and put on the headset
- Press Allow USB Debugging and Allow connected device to access filesYour Meta Quest headset is now in Developer mode!
How to Enable Developer Mode on Meta Quest with the Meta Quest Developer Hub
Important note: Before you pair your Meta Quest to your device, make sure to log in to your Meta Account and create a Meta Quest developer account.
- Then Create a New Organization
- Type an Organization Name into the provided text field
- Click Submit
- Review and Accept Terms
- Turn on your Quest and complete the Meta setup process.
- This includes pairing controllers, setting language, boundary guardian, WiFi, tutorial video and more.
- Download and install the Meta Quest Developer Hub (MQDH) on your PC or Mac. You will find the option to download for Windows or macOS under Install MQDH.
- Launch the Meta Quest Developer Hub, and Click Continue in the lower-right corner.
- Log in with your Meta account.
- Connect your Meta Quest headset to your PC using a USB-C cable.
- Click Device Manager in the top left corner.
- Select Set Up New Device in the upper-right corner, then click Set Up New Device in the drop-down menu again.
- Click Next at the bottom of the pop-up.
- Select your Meta Quest headset version from the menu.
- Click Next to log in with your MQDH account. Click Next again.
- Toggle on Developer Mode, then Click Next, and Finish to activate Developer Mode on your Oculus Quest 2
- Plug your Oculus Quest 2 into a computer.
- Put on the headset and use your controller to press Allow USB Debugging and Allow connected device to access files.
The above steps cover how to enable Developer mode on Oculus Quest 2 through the Meta Quest Developer Hub. These same steps also show how to enable developer mode for Oculus Quest 1.
As you can see, there are two different ways to enable developer mode on Quest devices. You can either choose to use the Meta Quest companion app or you can use the Meta Quest Developer Hub on a desktop.
Regardless of which way you choose to enable developer mode for Quest, you’ll need to be sure to complete some preliminary setup steps, like creating a developer account and completing the default Meta Quest setup process.
For many organizations, it is a frustrating process to enable developer mode Quest and it only becomes more challenging when you scale with more devices. Still, many organizations choose to use Meta Quest headsets because of their quality and affordability.
You should now know how to enable developer mode on the Meta Quest headsets. To find unofficial apps installed on your Quest headset, go to the app library on your headset. Click on the drop-down menu in the top right corner and select Unknown Sources.
Now that you have set up the Meta Quest Pro in developer mode, you can sideload applications, including an XR MDM to control the in-headset experience for business or education users.
Related article: you can also explore how to put the Meta Quest in kiosk mode, and how to deploy content to Meta devices.

How to Enable Developer Mode on PICO Neo 2 & G2 4K
- On your headset, navigate to Settings.
- Select General.
- Scroll down to Software Version and click on it eight times. This will prompt the Developer menu item to appear in the left-hand menu. Select Developer.
- After selecting Developer, you will then see Android’s stock 2D setting menu. Scroll down and select System.
- Click on About Device.
- Proceed to tap PUI Version eight times. You can then go back to the main 2D menu. Developer Options should now appear in the menu. This means that Developer Mode has been activated.
- Next, select Developer Options.
- Scroll down to the Debugging section, and enable USB Debugging.
After following the steps above, your PICO Neo 2 and G2 4K will be in developer mode, allowing you to install third party apps through sideloading.
If you’ve purchased headsets from PICO’s B2B sales teams, you should receive your headsets USB debugging enabled, and won’t need to enable developer mode.

How to Enable Developer Mode on PICO Neo 3 Pro
- Start by navigating to Settings.
- Select the General option.
- Scroll down to the Software Version option and select it eight times.
- This will prompt the Developer menu item to appear in the left-hand menu. When this occurs, it means that Developer Mode has been activated.
- For USB Debugging, select Developer, and then enable USB Debugging.
With developer mode turned on, you will now be able to sideload apps and enroll in a mobile device management platform like ArborXR.
If you purchase PICO Neo 3 Pro from PICO’s B2B sales team, it will likely come shipped with USB debugging already enabled.
PICO does this so organizations using PICO devices can quickly load apps and device management software onto the headset without having to spend time navigating in settings.
If developer mode is not enabled on the PICO Neo 3 Pro, follow the above steps and you can sideload applications and install XR mobile device management software for PICO.

How to Enable Developer Mode on PICO 4 Enterprise
- Navigate to Settings.
- Select the General option.
- Scroll down and select About.
- Scroll down to the Software Version option and select it seven times.
- This will prompt the Developer menu item to appear in the left-hand menu. When this occurs, it means that Developer Mode has been activated.
- For USB Debugging, select Developer, and then enable USB Debugging.
One benefit of purchasing the PICO 4 Enterprise is that it is specifically designed for enterprise use cases, so it will likely come shipped with USB debugging already enabled.
PICO does this so organizations using PICO 4 Enterprise can quickly load apps and device management software onto the headset without having to spend time navigating in settings.
If developer mode is not enabled on the PICO 4 Enterprise, follow the above steps and you can sideload applications and install XR mobile device management software for PICO.
Learn more about the PICO 4 Enterprise here.

How to Enable Developer Mode on HTC Vive Focus Plus & Focus 3
- Navigate to Settings and select More Settings.
- Scroll down to Build Version and select it seven times. You will get a pop-up message that begins to count down from seven clicks.
- After the seventh click, you will see a message that reads “You Are a Developer.”
- To enable USB Debugging, go back and click on the More Settings option. Then, scroll down to the Developer Options section and click on enable USB Debugging.
As you can see, enabling developer mode on the HTC VIVE Focus Plus and Focus 3 is the same process as PICO devices.
One benefit of purchasing the HTC VIVE Focus 3 is that it is specifically designed for enterprise use cases, so it will likely come shipped with USB debugging already enabled.
HTC enables USB debugging at the factory level so that admins can quickly load apps and device management software onto the headset without having to spend time navigating in settings.
If developer mode is not enabled on the HTC VIVE Focus device, follow the above steps and you can sideload applications and install XR mobile device management software for HTC.

How to Enable Developer Mode on Lenovo ThinkReality VRX
- Click the gear icon on the ThinkReality VR Dock to open Settings
- Navigate to About and click on the Software Version eight times in a row
- After clicking eight times, a new menu would appear. Scroll down and choose Developer Mode
- Toggle on Developer Mode and enable USB Debugging
This process is also very similar to what you’d do with PICO and HTC Vive devices.
The ThinkReality VRX is another great enterprise-focused headset. We’ve highlighted why it’s a strong option for various enterprise use cases in our ThinkReality VRX review. If your headset doesn’t come with Developer Mode enabled, just follow the four steps above to activate it.
Once Developer Mode is on, you can:
- Connect your ThinkReality VRX headset to the ThinkReality Cloud Portal—Lenovo’s built-in MDM lite—or use it with third-party MDMs like ArborXR.
- Sideload apps to the ThinkReality VRX to use third-party apps for your VR projects.
The Common Challenges Implementing XR
Over the past few years, organizations have started to embrace XR technology fully. Many companies are using VR and AR to train employees, engage with remote teams, collaborate, connect with customers, and so much more.
But implementing XR successfully can be challenging. For instance, a pilot project with a few headsets may run smoothly. However, as companies begin to scale the project and deploy more headsets, they are often faced with the challenge of updating the apps manually.
Unfortunately, that usually means one person is responsible for receiving the physical headsets, updating the apps, and then mailing them back to relevant staff members. There has to be a better way.
ArborXR software can help to simplify this often time-consuming process. It allows you to:
- Manage thousands of devices from a central point
- Deploy apps and update them remotely
- Customize employee headset experience
- Upload a library of apps, videos, files, WebXR, and 360° content
- Integrate with an existing mobile device management (MDM) or unified endpoint manager (UEM)
To find out more about how ArborXR can help you manage your AR and VR device, click here to watch the product demo.
Final Thoughts
The COVID-19 pandemic has changed the way companies operate, and AR & VR technology have helped to meet these new needs.
After reading this post, we hope you’re now clear on how to enable developer mode so you can have more flexibility with your chosen VR device.
ArborXR can help make deploying a new fleet of XR devices seamless and less time-consuming for any organization. Sign up for a live demo, explore our platform and experience how ArborXR can make XR device management easy.